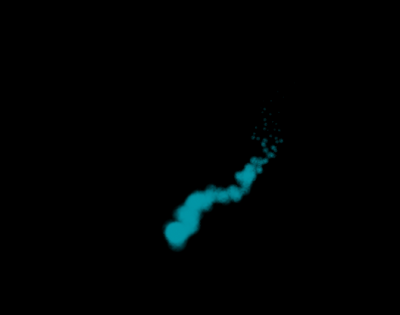
1. Create new scene. Create - EP Curve Tool and creat a curve as below picture in the front
view.
2. Name the curve to tornadoCurve. With the curve selected and select Create Deformer -
Lattice - Option box in the Animation menu set. Set the following and press Create.
Divisions : 5, 9, 2
Autoparent to Selection : On
3. Select the ffd1Lattice node, Right mouse click on it and select Lattice Point. Select the top
three rows of lattice points.
4. Select Deform - Create Cluster - Option box. Check the Relative Mode on. Create.
Repeat this step to create two more clusters.
5. Select the three clusters in the outliner, then Shift - select the tornadoCurve. Press P to parent
the clusters to the curve.
6. Select tornadoCurve. Set the time slider at frame 1. Move tornadoCurve to -12, 0, 12
(Translate x, y, z). Press Shift+w to keyframe the translations.
7. Move the time slider to 110 and set another keyframe by pressing Shift+w.
8. At frame 160, move the tornadoCurve to 0, 0, 0 and press Shift+w.
9. At frame 300, move the tornadoCurve to -12, 0, -12 and press Shift+w.
10. Select tornadoCurveShape by pressing ↓key on the keyboard.
11. Change to Dynamics menu set, select Effects - Create Curve Flow - Option box.
Set the following and Create.
Flow Group Name : tornadoFlow
Num Control Sefments : 6
Particle Lifespan : 3
Goal Weight : 0.5
12. Playback the animation.
13. Select the control_Circle_6 which is at the top of tornadoCurve and scale up the circle.
Scale up the lower circles as look like below picture.
14. Select the tornadoFlow and set Display Thickness on in the channel box. You will see
the outline of tornado funnel shape. Control the scale until you get the shape you want
and set Display Thickness off again.
15. Select the tornadoFlow_particles, go to Fields - Vortex - Option box. Set the following.
Create.
Magnitude : 10
Attenuation : 0
16. Parent the vortex field to tornadoCurve.
17. Select the tornadoCurveShape, Shift - select the vortex field. It will be easy to select in
outliner. Select Fields - Use Selected as Source of Field.
18. Select vortex field, set Apply Per Vertex to On in the channel box. It will make every
point on the curve emit field force.
19. Select the tornadoFlow_particle and switch the Particle Render Type to Cloud(s/w)
in the channel box.
20. Go to Attribute Editor - Add Dynamic Attributes - General - under Particle tap - radiusPP.
Add radiusPP.
21. Right mouse click on the box next to radiusPP in Per Particle Attribute. Select Create Ramp.
Right mouse click again and select arrayMapper - Edit Ramp. Set the values of the ramp :
Radius starts at 0.1 and dies at 0.9.
22. Play the animation. Render the scene so that the tornado look blue.

Reference
- Autodesk Maya 2011, 2010. Autodesk Maya Online Help : Introduction. [online] Available at : < file:///Applications/Autodesk/maya2011/docs/Maya2011/en_US/index.html?url=./files/GS_Introduction.htm,topicNumber=d0e1838 > [Accessed 25 February 2011].
- Marc-André Guindon., 2005. Learning Maya 7 : The Special Effects Handbook. Unknown: Sybex


No comments:
Post a Comment